
-
Install VS Code, the free editor
Go to code.visualstudio.com/download, pick your computer type (Windows or Mac), install it, open it once, close it.Why: your website is a folder of text files. VS Code shows them the way they really are. Notepad and TextEdit can quietly change the file and break the page.
-
Create a free Cloudflare account
Go to dash.cloudflare.com/sign-up. Use an email you can open on your laptop. Click the confirmation email. Write the password in your password manager, or on paper you will bring.Why: Cloudflare is where we will publish. It is also the best place to keep a domain, but you do not need to move yours today.
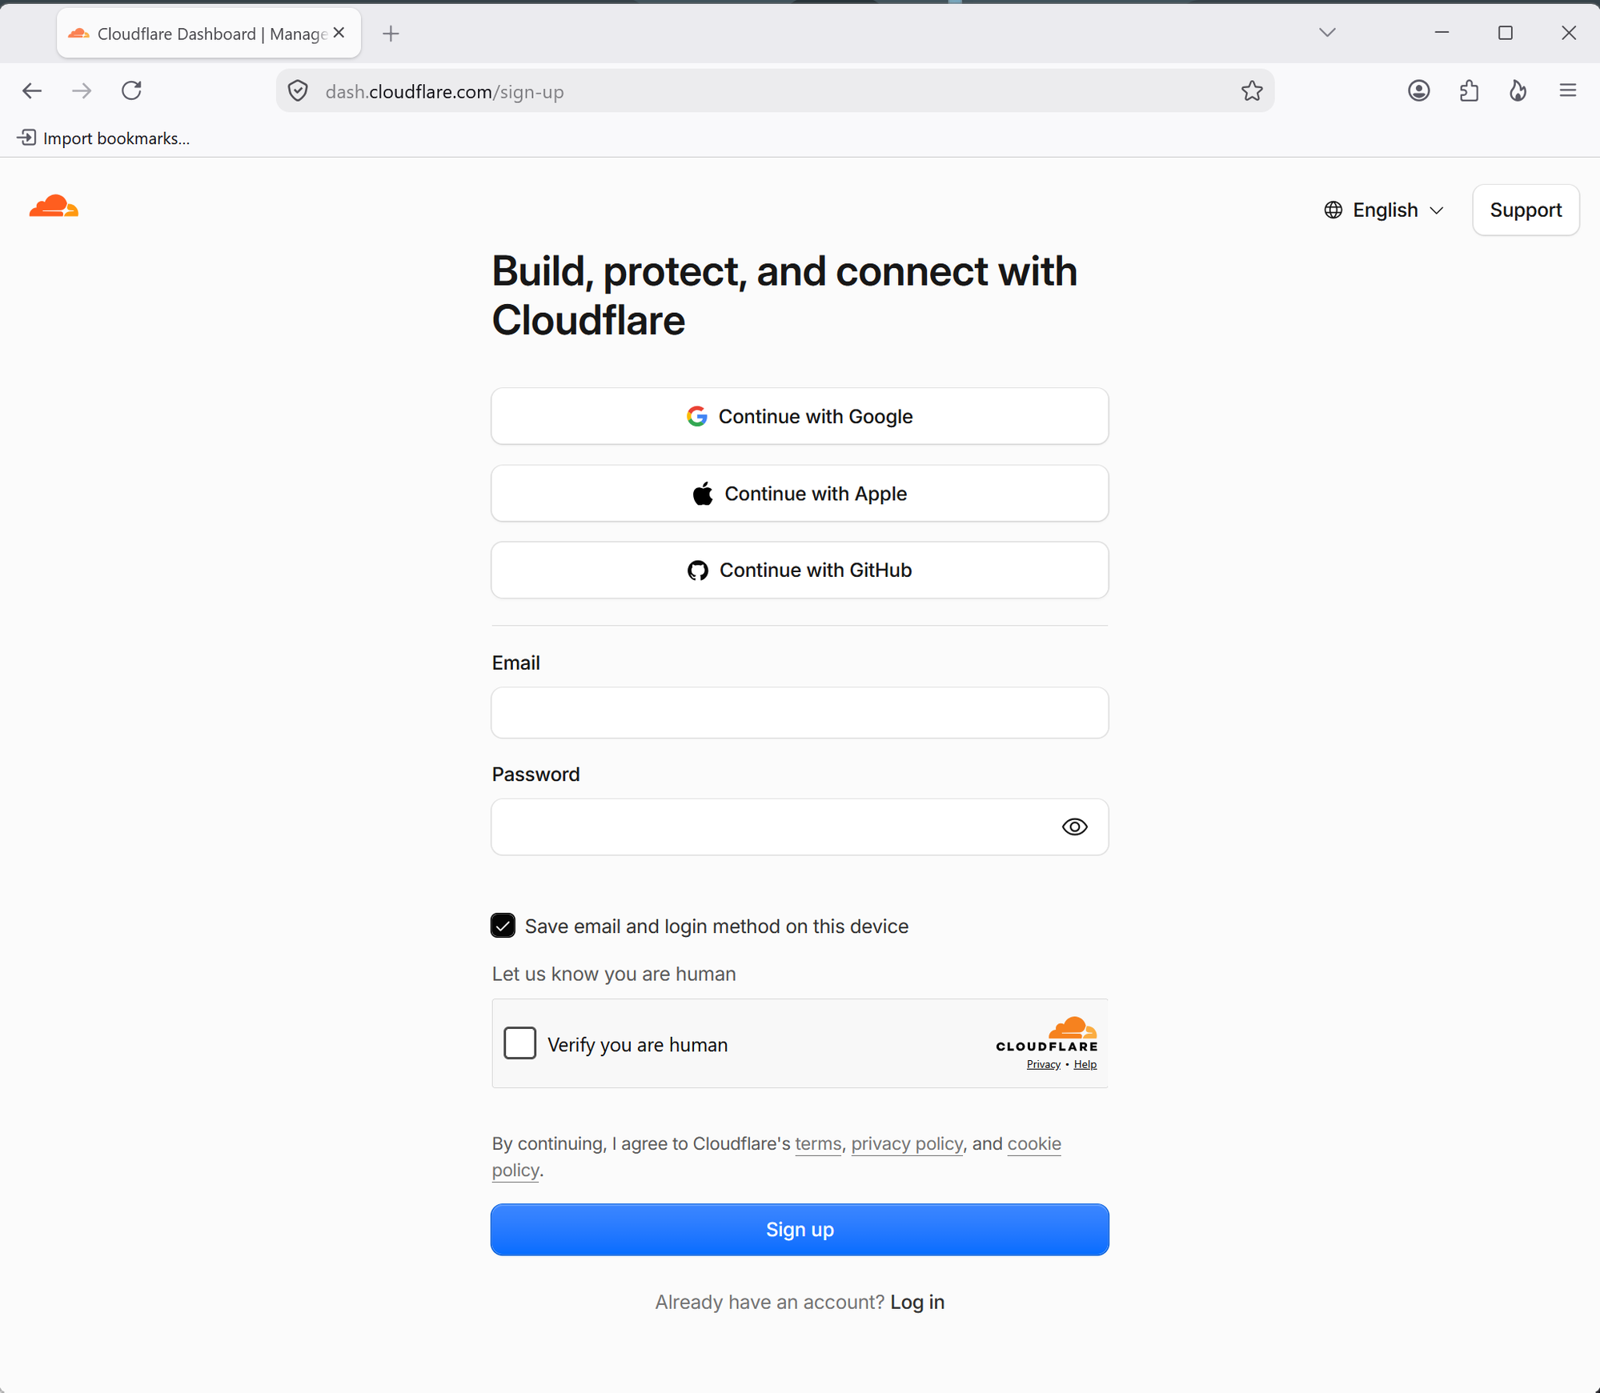
What the sign-up page looks like. -
Tell Cloudflare about your domain
If you bought your domain at Cloudflare — nothing to do. It is already there. Skip to job 4.
If you bought it somewhere else (GoDaddy, Network Solutions, Google, Squarespace, anywhere) — do this:
a. In Cloudflare, click Add a domain. Type your domain, for example birdiesandbackroads.com. Choose the Free plan.
b. Cloudflare shows you two nameservers. They look like christina.ns.cloudflare.com. Keep that page open.
c. In a new tab, log in where you bought the domain. Find Nameservers (sometimes under DNS or Domain Settings). Choose "custom nameservers", delete what is there, paste in the two from Cloudflare, save.
d. Back in Cloudflare, click Check nameservers. Then wait. Cloudflare emails you when the domain shows Active. This usually takes an hour, sometimes a day.
Why: nameservers are the internet's address book entry for your domain. Pointing them at Cloudflare lets us publish there in class with one click. Nothing about your domain ownership changes.
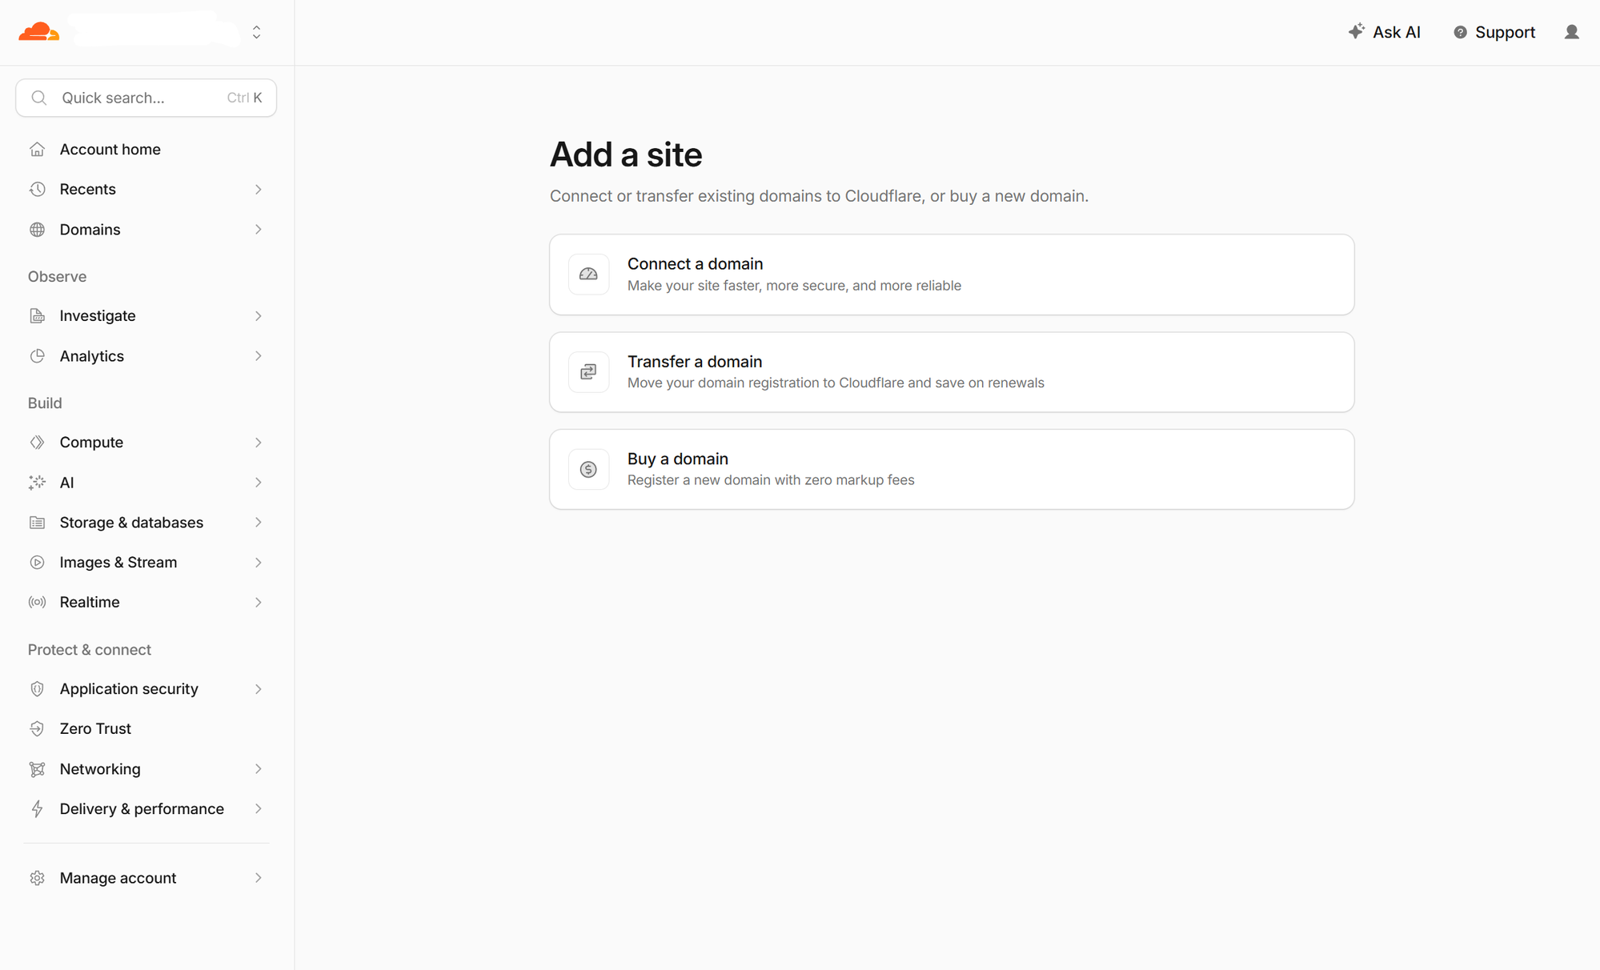
Adding a domain to Cloudflare. 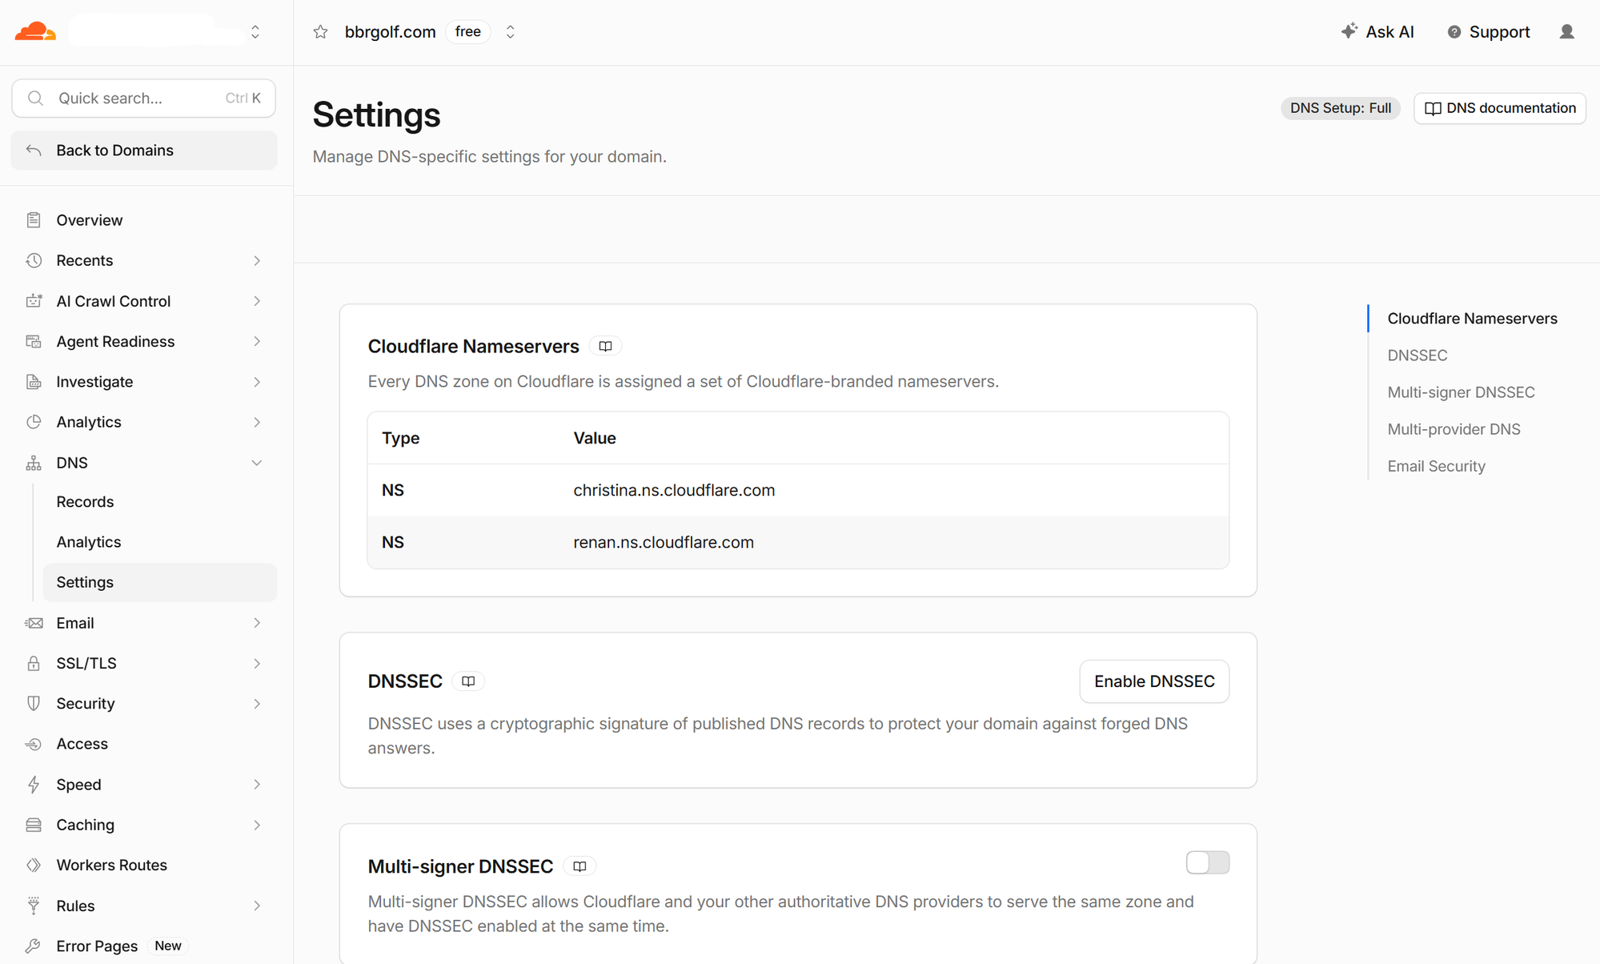
The two nameservers to copy into your registrar. -
Optional: get your contact-form key
Go to web3forms.com, type the email address where you want website messages delivered, click Create Access Key. A key arrives by email. Keep that email. We will not use it in class; the handout shows where to paste it at home, and the form works the day you do.Why: a plain website cannot send email by itself. This free service does it for you, and there is no account to create.
Bring to class
Your laptop and its charger. Your Cloudflare login. Your logo or a photo you like, if you have one. A phone, for the final test.